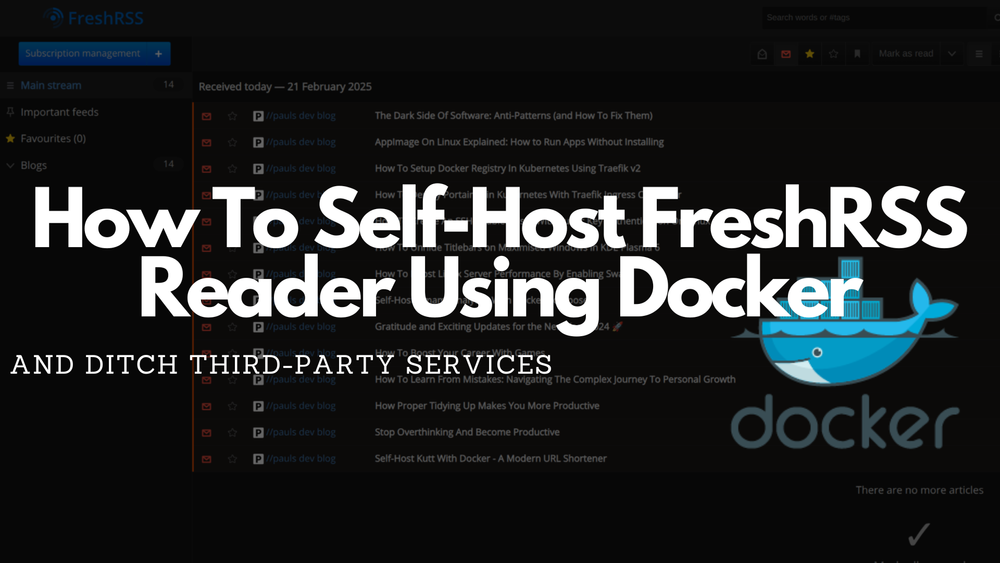
How To Self-Host FreshRSS Reader Using Docker
Stop paying for ‘free’ RSS readers - host your own and regain control over your newsfeed.
Have you ever thought about self-hosting your own RSS reader? Yes, That's good, you're in the right place.
In this guide, we will walk through everything you need to know to self-host your own version of FreshRss, a self-hosted, lightweight, easy-to-work-with, powerful, and customizable RSS Reader.
Introduction or What is an RSS reader?
RSS stands for Really Simple Syndication and is a tool that can help us to aggregate and read content from multiple websites in one place which is updated when new posts are published on any of the websites added as RSS feed.
Why should we use it?
RSS readers can be used to stay updated and get the latest posts from blogs (also mine), news sites, or podcasts without visiting each site and without having an algorithm filtering these sites "for our interests". The news/articles are simply ordered chronologically. This can save time because all the content we want is available in one place and often they are offline usable so you can read without an active internet connection.
Another important feature of an RSS reader is privacy because the RSS reader pulls the content directly from the website and this avoids tracking and adds. Unfortunately, not every website supports RSS feeds containing the complete article, but we can avoid being tracked for those who do.
Which Cool RSS readers exist?
Nowadays, many different kinds of RSS readers exist, but most of them are hosted by different providers:
- NewsBlur: NewsBlur is a "free" RSS reader that can be used on the web, iPad/iPhone, and Android and is able to follow 64 feeds. Like many others, it has a premium account that adds more "features".
- InnoReader: InnoReader is another "free" RSS reader that can be used to follow websites and read articles on their website. If you have an active subscription, you can also use their IOS or Android apps. With InnoRead you can follow 150 feeds.
- Feedly: Feedly is also a "free" RSS reader which offers a free plan that can be used on the web and IOS/Android and allows you to follow up to 100 feeds and organize them into 3 folders.
Why host our own?
As usual with external hosted services, more or the main content is blocked behind a Paywall.
Because of that, I decided to host my very own RSS reader which I can use. My choice was FreshRSS because it is lightweight, easy to work with, very powerful, and can be customized to my needs. Additionally, is is a multi-user application where I can invite my colleagues/friend or share lists for anonymous reading. Another cool feature is that there is an API for clients, including mobiles!
Internally, FreshRSS natively supports basic Web scraping based on XPath and JSON documents if there are websites that do not have any RSS (Atom) feed published.
Prerequisite
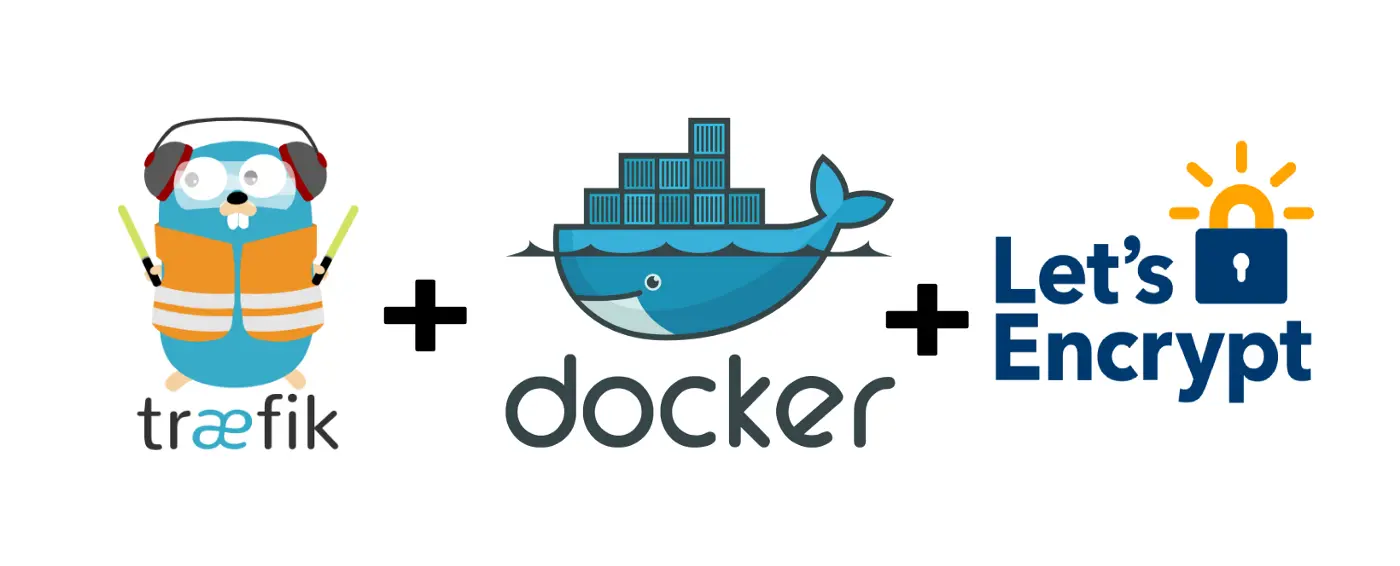
To follow every step within this tutorial and have a running FresshRSS service in the end we need to have a running Docker or Docker Swarm environment with a configured load balancer like Traefik.
Docker in Swarm mode
If we want to use Docker in Swarm mode to host our services we can follow this article to set it up:

After using that article to set up our Docker Swarm we should install and configure a Traefik load balancer (or something similar: NGINX, Caddy, etc) which will grant our service Let's Encrypt SSL certificates and forward our services within our Docker Swarm environment. To learn about this (and other important services) we could follow this tutorial:

Simply Docker
If we don't want to host our own Docker Swarm but still want to use Docker and Traefik to host FreshRSS I have created the following tutorial which will show how to set up a Traefik Proxy that can be used to grant Let's Encrypt SSL certificate to services running in Docker containers:
Install FreshRSS
Before installing FreshRss we have to create a file called .env which will store every environment variable that is used (for our specific use case) in our Docker container.
# Mandatory settings
BASE_URL=https://rss.paulsblog.dev
ADMIN_EMAIL=youremail@paulsblog.dev
ADMIN_PASSWORD=freshrss123456
ADMIN_API_PASSWORD=superocmplexapistringforpaulsblogdev
For more information about settings in the .env file see this GitHub reference.
Now, that we have everything properly set up we can install FreshRSS on our server using either simple Deployment on one server or Docker Swarm deployment.
Install On Docker Swarm
FreshRSS will be installed with Docker Compose. The Compose file contains the service name, all mandatory/important settings for Traefik to have a unique URL and an SSL certificate.
To install FreshRSS within your Docker Swarm you can paste the following code into your docker-compose.yml which will be explained afterward.
version: "3.4"
services:
  freshrss:
    image: freshrss/freshrss:edge
    logging:
      options:
        max-size: 10m
        max-file: 3
    volumes:
      - data:/var/www/FreshRSS/data
      - extensions:/var/www/FreshRSS/extensions
    networks:
      - traefik-public
    deploy:
      placement:
        constraints:
          - node.labels.fresh-rss == true
      labels:
        - traefik.enable=true
        - traefik.docker.network=traefik-public
        - traefik.constraint-label=traefik-public
        - traefik.http.routers.fresh-rss-http.rule=Host(`rss.paulsblog.dev`)
        - traefik.http.routers.fresh-rss-http.entrypoints=http
        - traefik.http.routers.fresh-rss-http.middlewares=https-redirect
        - traefik.http.routers.fresh-rss-https.rule=Host(`rss.paulsblog.dev`)
        - traefik.http.routers.fresh-rss-https.entrypoints=https
        - traefik.http.routers.fresh-rss-https.tls=true
        - traefik.http.routers.fresh-rss-https.tls.certresolver=le
        - traefik.http.services.fresh-rss.loadbalancer.server.port=80
    env_file: .env
    environment:
      TZ: Europe/Berlin
      CRON_MIN: '2,32'
      FRESHRSS_ENV: production
      TRUSTED_PROXY: 172.16.0.1/12 192.168.0.1/16
      FRESHRSS_INSTALL: |-
        --api-enabled
        --base-url ${BASE_URL}
        --default_user admin
        --language en
      FRESHRSS_USER: |-
        --api-password ${ADMIN_API_PASSWORD}
        --email ${ADMIN_EMAIL}
        --language en
        --password ${ADMIN_PASSWORD}
        --user admin

volumes:
  data:
  extensions:

networks:
  traefik-public:
    external: true
Line 4: The rolling release, which has the same features as the official git edge branch is used
Line 5 - 8: This sets up log rotation for the container and sets 10 megabytes as a maximum for a log file using a maximum of three log files.
Line 9 - 11: To persist all container data, two persistent volumes are used (data/extensions)
Line 12 - 13: Set the used network to my Traefik network traefik-public
Line 15 - 17: The service will only be deployed to a Docker Swarm node if the label fresh-rss is true. This can be achieved by executing the following command before deploying the docker-compose.yml to the stack:
docker node update --label-add fresh-rss=true ID_OF_NODE_TO_USELine 18 - 29: Set up a standard configuration for a service deployed on Port 80 in a Docker Swarm with Traefik and Let's Encrypt certificates. In Lines 22 and 25 a URL is registered for this service: rss.paulsblog.dev
Line 30: Enables using the .env file
Line 31 - 34: Configure environment variables used by FreshRSS like the timezone (Line 32), the cronjob to update (Line 33), the production version (Line 34)
Line 36 - 46: Sets the FRESHRSS_INSTALL and FRESHRSS_USER environment variable which automatically passes arguments to the command line cli/do-install.php. Only executed at the very first run. This means, that if you make changes, delete the FreshRSS service, the volume, and restart the service.
Line 47 - 54: The used volumes and networks are defined because this has to be done in Compose files.
As we will deploy this service into our Docker Swarm using a .env file we have to prepend the docker config command which will generate a new Compose file with all variables from the .env file. To have a simple command we will pipe the output the the docker stack command and deploy it. Because of this procedure, the resulting command to deploy the service in our Docker Swarm is:
docker-compose config | docker stack deploy -c - freshrssInstall Using Docker
If you do not have a running Docker Swarm you can use this Compose file:
version: "3.4"
services:
  freshrss:
    image: freshrss/freshrss:edge
    container_name: freshrss
    hostname: freshrss
    restart: unless-stopped
    logging:
      options:
        max-size: 10m
        max-file: 3
    volumes:
      - data:/var/www/FreshRSS/data
      - extensions:/var/www/FreshRSS/extensions
    networks:
      - traefik-public
    labels:
      - traefik.enable=true
      - traefik.docker.network=traefik-public
      - traefik.constraint-label=traefik-public
      - traefik.http.routers.fresh-rss-http.rule=Host(`rss.paulsblog.dev`)
      - traefik.http.routers.fresh-rss-http.entrypoints=http
      - traefik.http.routers.fresh-rss-http.middlewares=https-redirect
      - traefik.http.routers.fresh-rss-https.rule=Host(`rss.paulsblog.dev`)
      - traefik.http.routers.fresh-rss-https.entrypoints=https
      - traefik.http.routers.fresh-rss-https.tls=true
      - traefik.http.routers.fresh-rss-https.tls.certresolver=le
      - traefik.http.services.fresh-rss.loadbalancer.server.port=80
    env_file: .env
    environment:
      TZ: Europe/Berlin
      CRON_MIN: '2,32'
      FRESHRSS_ENV: production
      TRUSTED_PROXY: 172.16.0.1/12 192.168.0.1/16
      FRESHRSS_INSTALL: |-
        --api-enabled
        --base-url ${BASE_URL}
        --default_user admin
        --language en
      FRESHRSS_USER: |-
        --api-password ${ADMIN_API_PASSWORD}
        --email ${ADMIN_EMAIL}
        --language en
        --password ${ADMIN_PASSWORD}
        --user admin

volumes:
  data:
  extensions:

networks:
  traefik-public:
    external: true
There are only two differences between this and the Docker Swarm Compose files. The first is in Lines 5 - 7 where a hostname (freshrss), container name (freshrss), and the restart policy is set: restart: unless-stopped.
The other change is that labels are removed from the deploy - keyword and put to a higher order within the Compose file. This is done because deploy is only used in a Docker Swarm environment but labels can also be used in a simple Docker environment.
To start the container simply use:
docker compose up -dConfigure FreshRSS
After deploying our own instance of FreshRSS we can switch to our favorite web browser, open https://rss.paulsblog.dev (or your used domain), and log in with the credentials specified within the .env file (admin:freshrss123456).
We should see something similar like this:
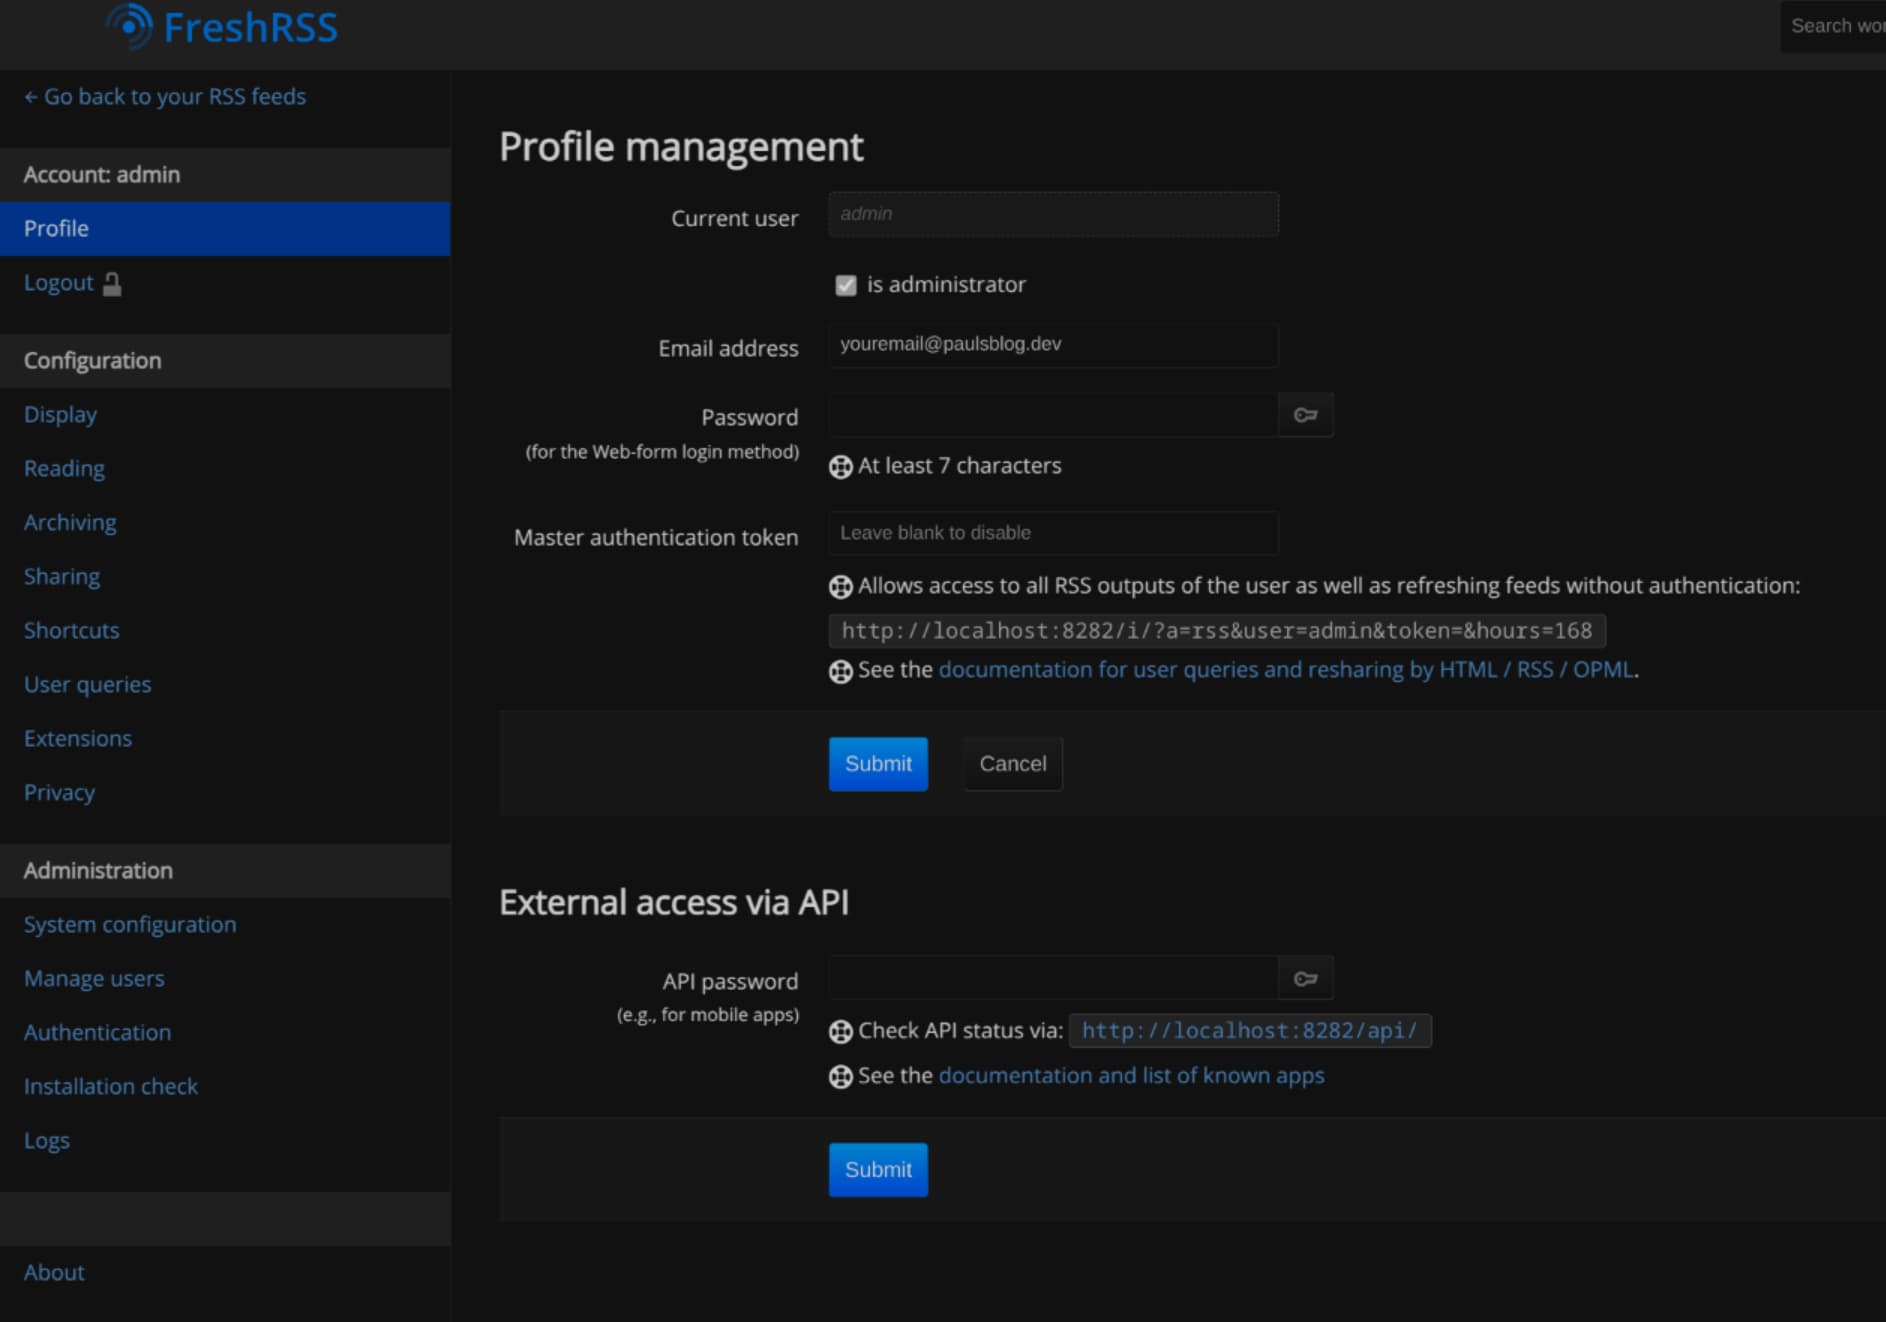
The first thing we have to do is configure the FreshRss instance. To do this, we should press the cogwheel in the top right corner to open up the settings:
Now we have to do two things:
- Change the password for our admin. This is done in Account -> Profile
- Adjust the theme we want to use for our instance. This is done in Configuration -> Display
On the main page, you can click the small + icon next to Subscription Management to open up the following page:
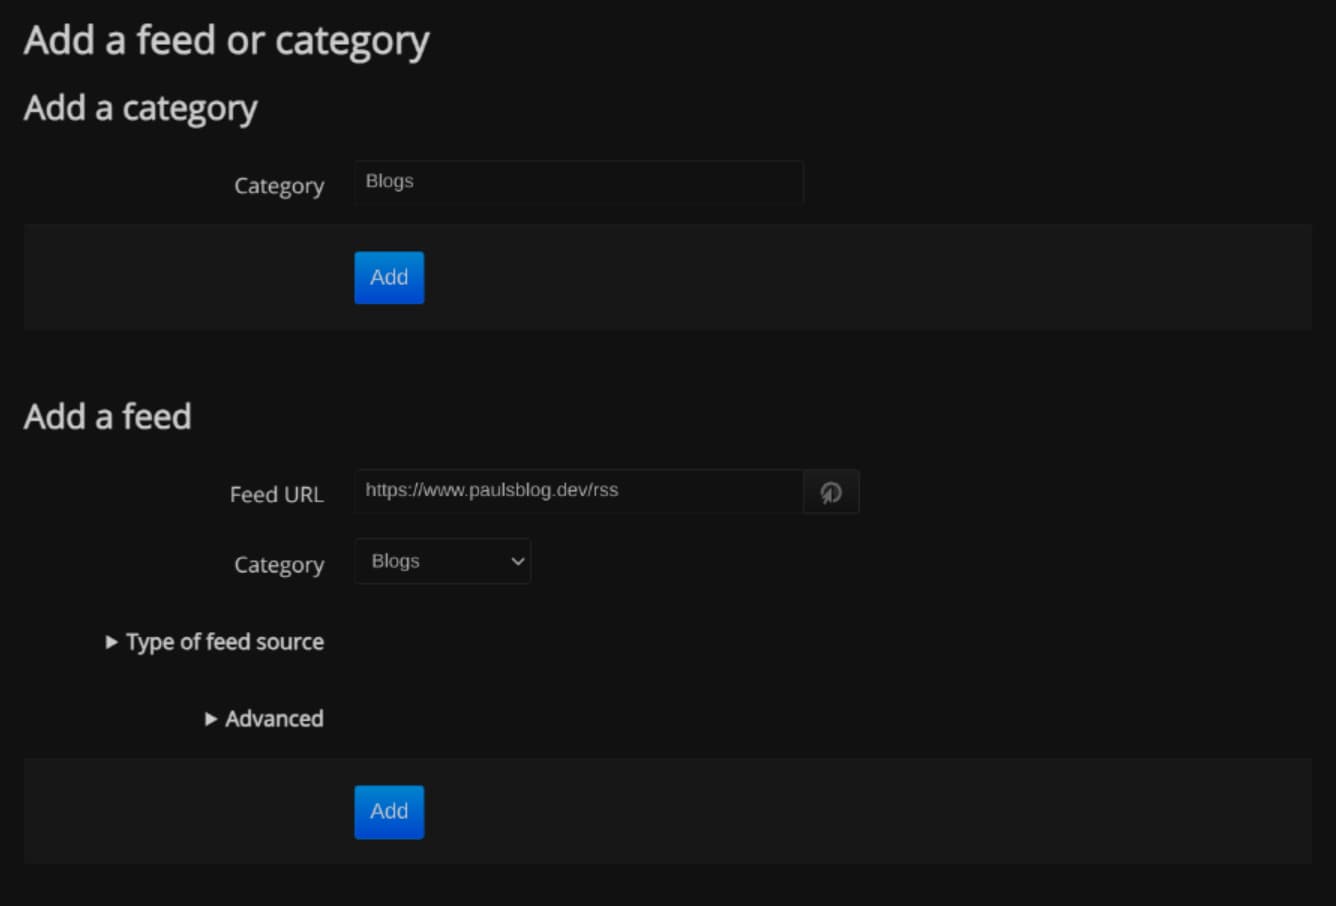
Before adding a feed we should create a category (e.g. Blogs). Then we can add an RSS feed for our most visited/interesting blog (-> https://www.paulsblog.dev/rss).
Pressing Add will open up the settings of the RSS feed page and we are able to configure it even further:
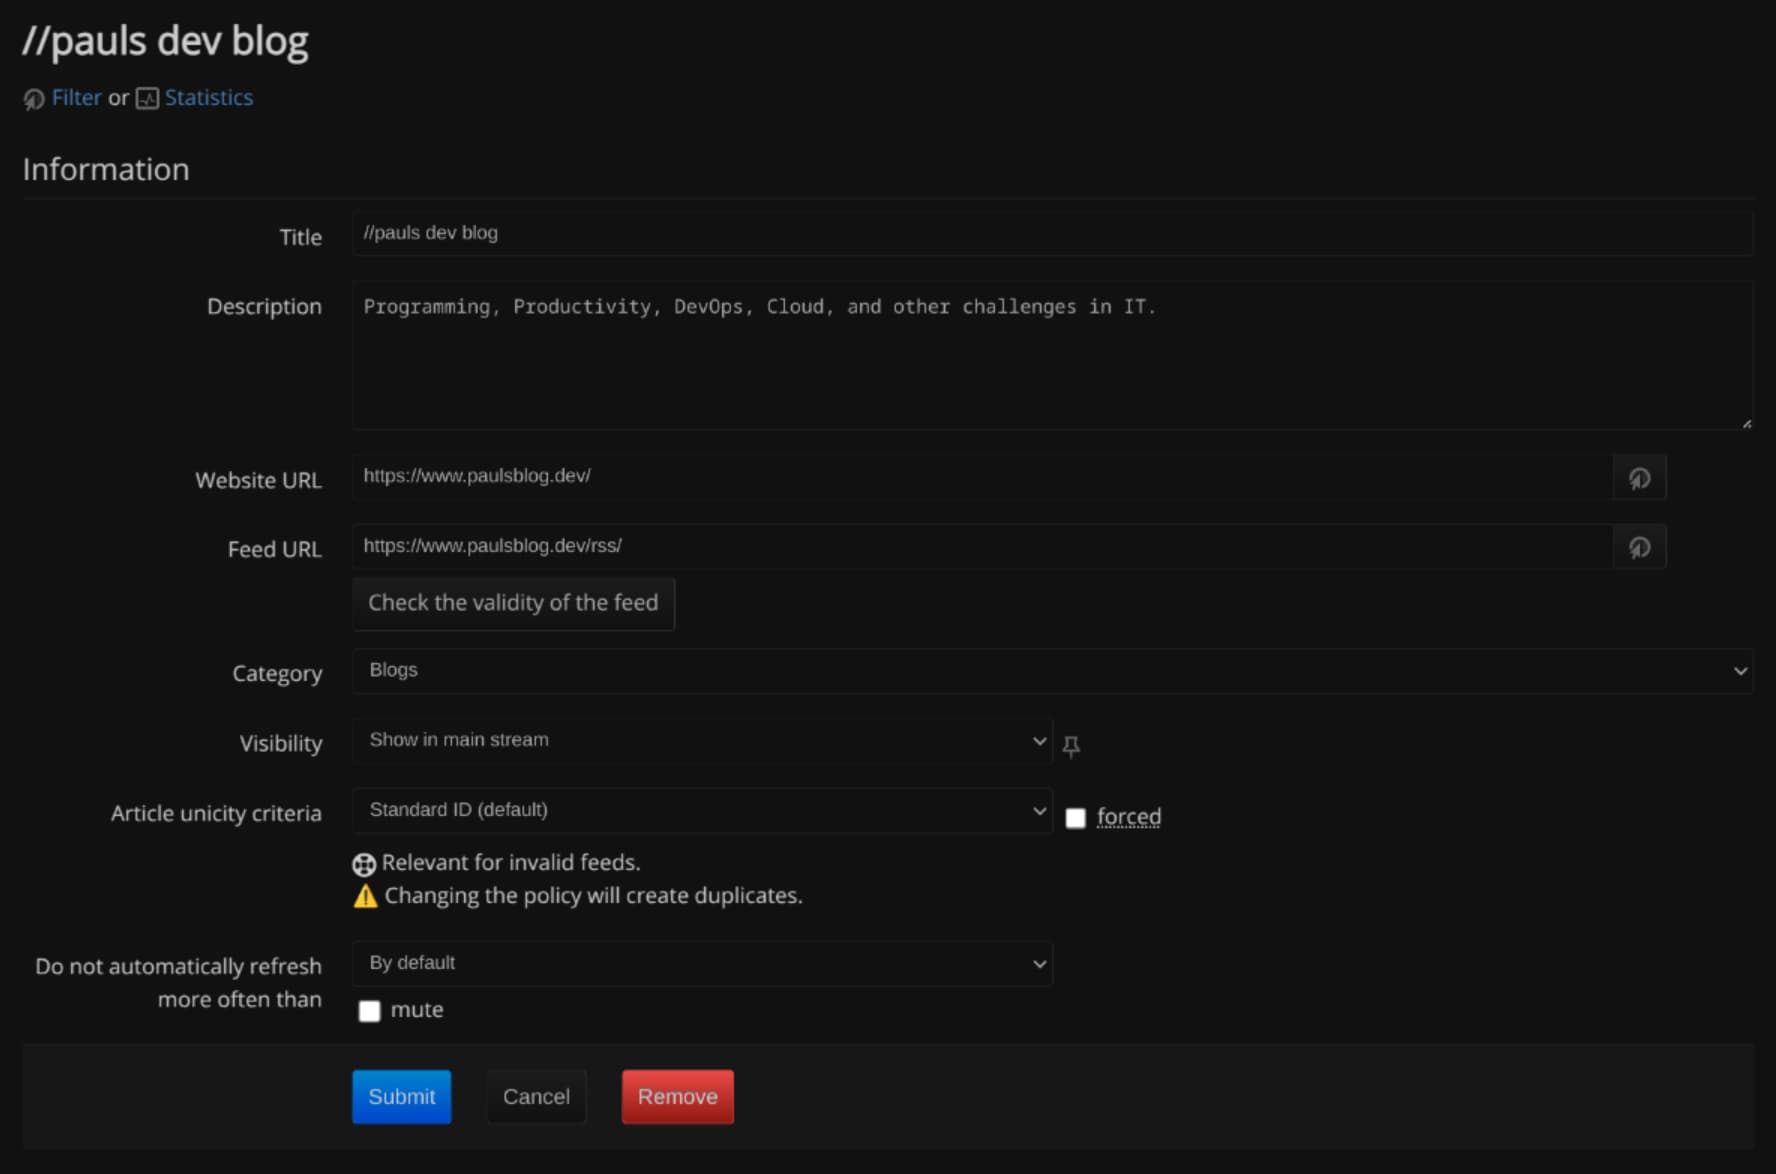
On this page, we can add or change the description, check if the feed is working, and also set or update the category.
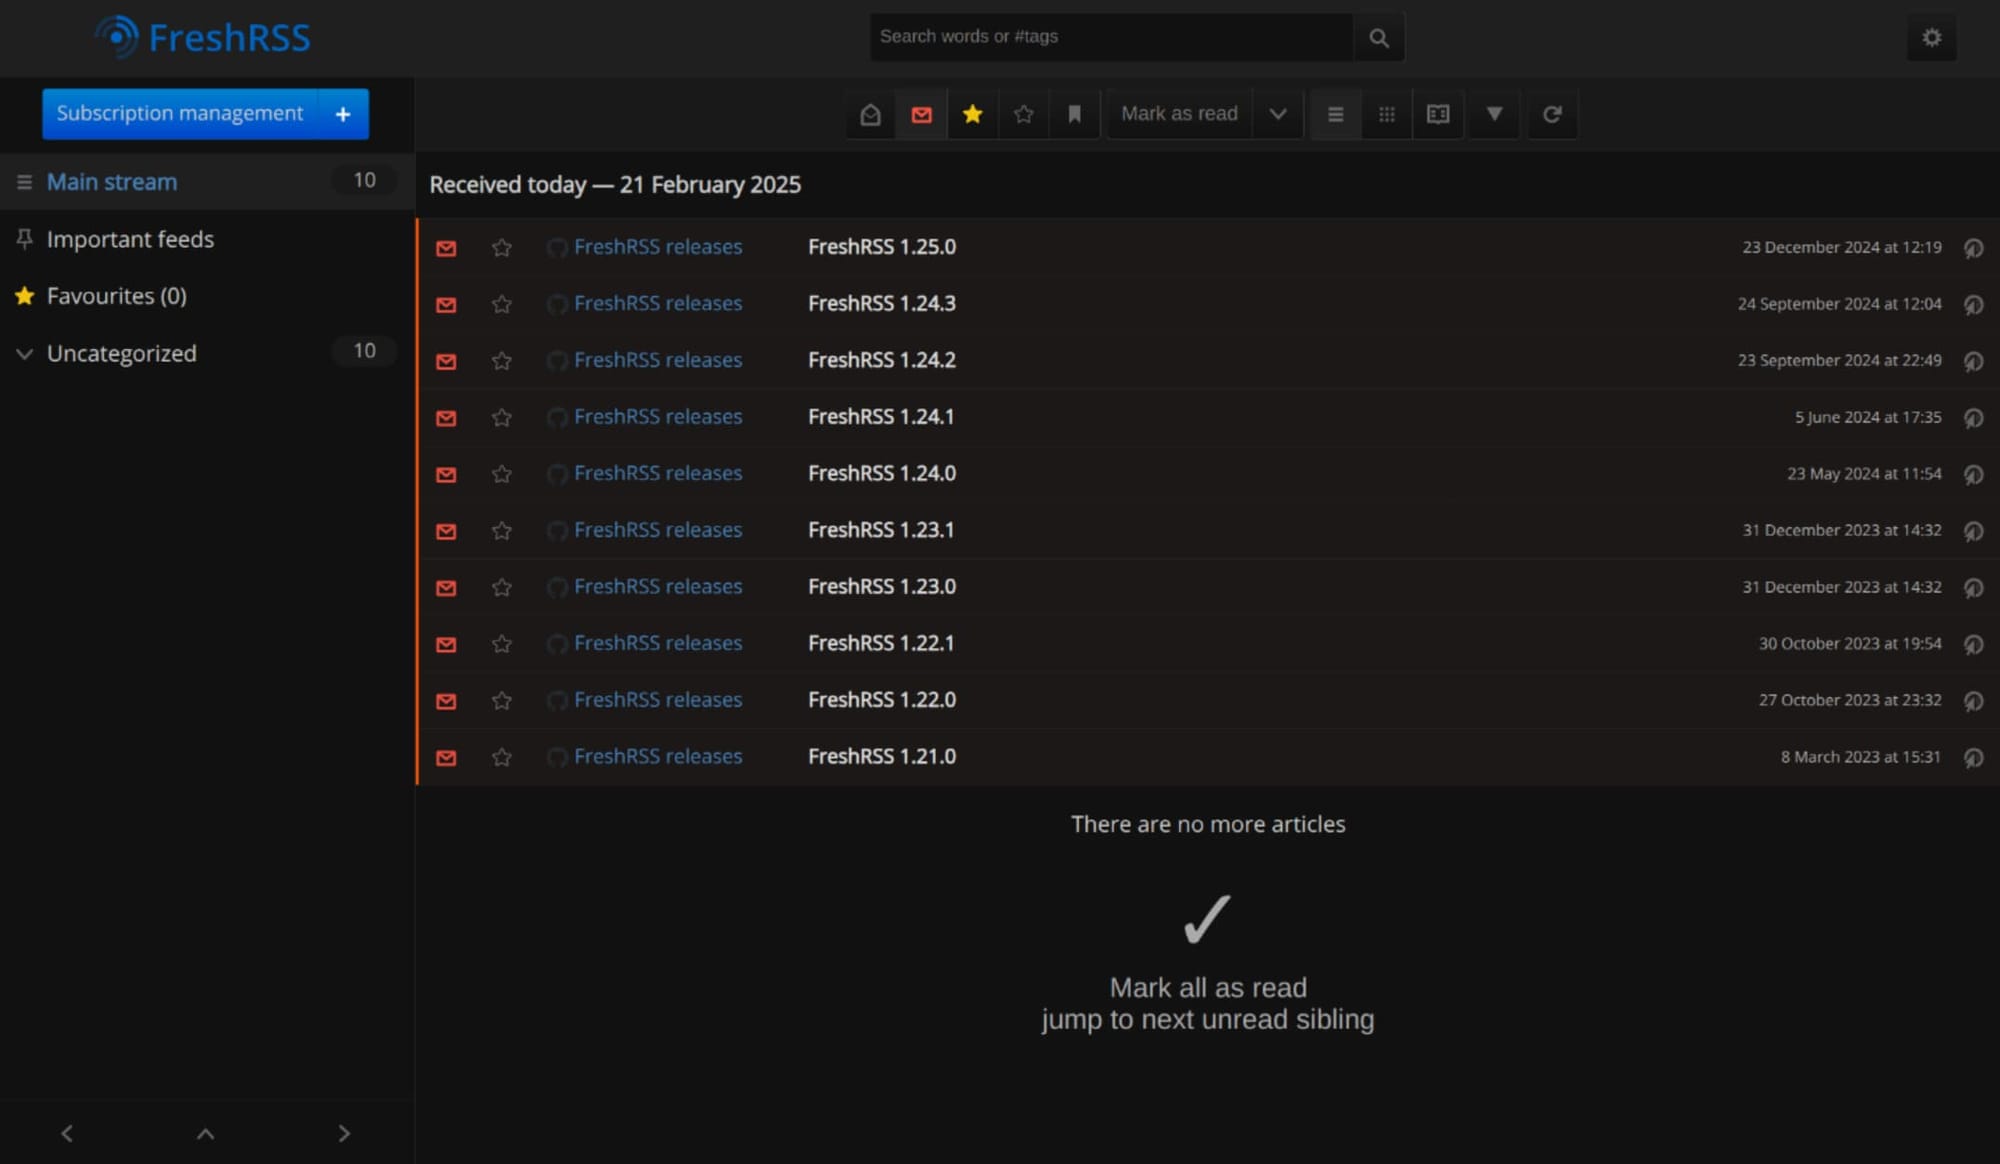
If we Submit we can go back to the article overview and will see all articles that were fetched from the RSS feed:
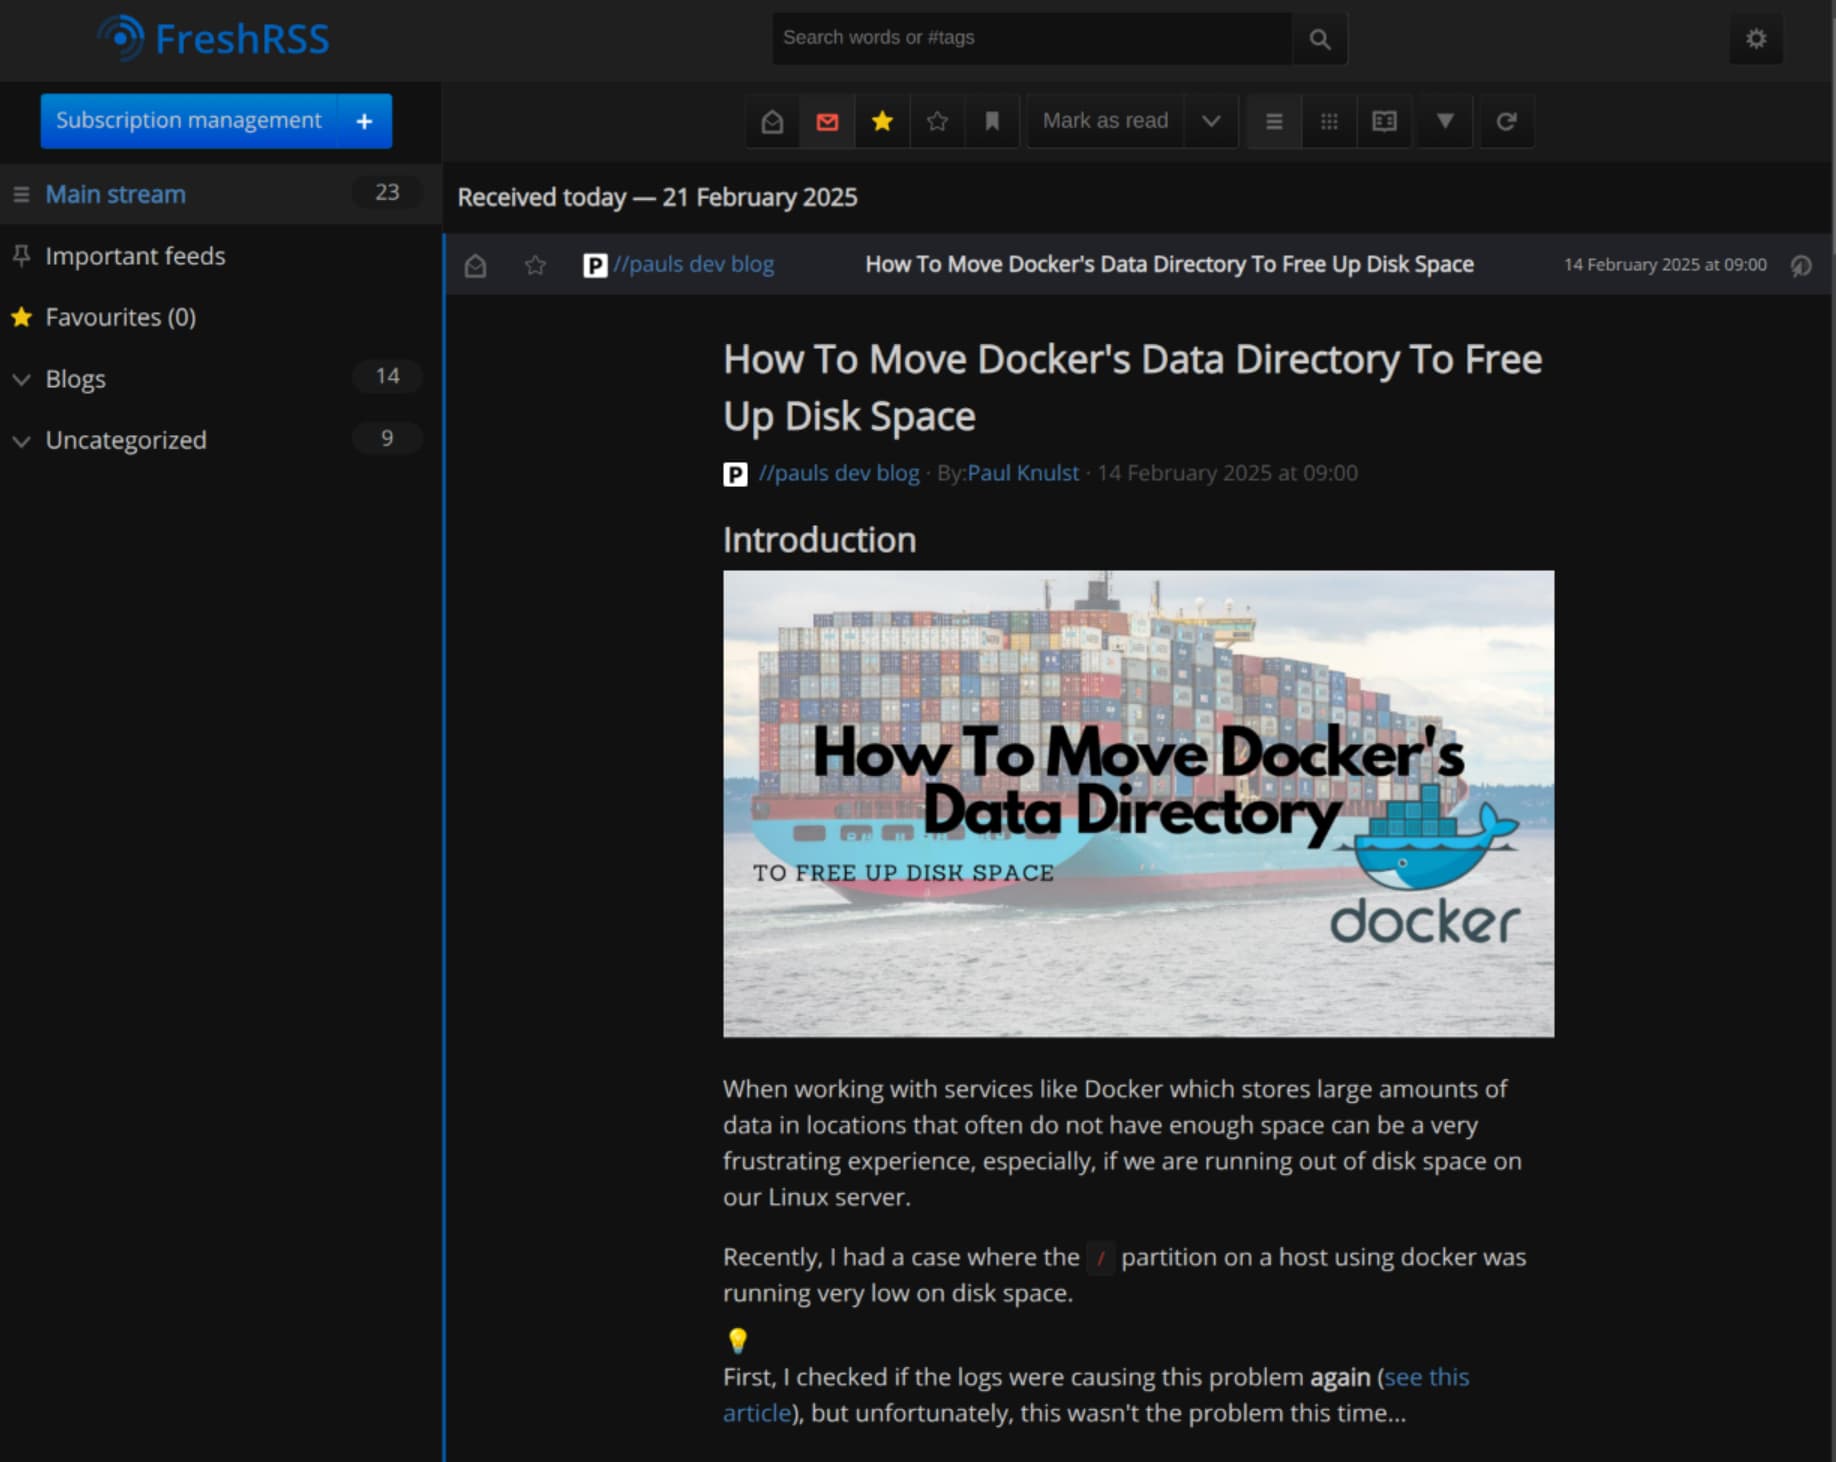
Clicking on an article will show us the complete article to read (if the author of the website has enabled full articles in RSS feed, otherwise there is only a small preview.)
For example, on my page, the last article in the RSS feed before publishing this one could be completely read in FreshRSS:
Accessing FreshRSS From Mobile
As mentioned earlier we could access our self-hosted FreshRSS service from our mobile device.
For Android Users, I would recommend ReadDrops (https://github.com/readrops/Readrops) to access our FreshRSS. Readdrops can be found in the Google Play Store and is completely free to use: https://play.google.com/store/apps/details?id=com.readrops.app
As I am not an IOS user, I do not know which app is best so you have to find one from this wonderful list in the FreshRSS GitHub.
Closing Notes
Congratulations to us, as we should now have installed our own FreshRSS blog (at least me). If you want to improve the user experience or do more with your FreshRSS instance you can:
- Add my blog to your FreshRSS instance: https://www.paulsblog.dev/rss
- Add Krebs On Security
- Add LinuxServer.io
- Add BleepingComputer
- Invite your friends to share it
This is the end of this tutorial. Once you finish setting up your personal FreshRSS instance, share your experience with me. I would love to read it! Also, if you want to give feedback about this tutorial or have any alternative self hosted RSS readers, please comment here and explain the differences. And as always, if you have any questions, please ask them in the comments. I will answer them if possible.
Feel free to connect with me on Medium, LinkedIn, Twitter, and GitHub.
🙌 Support this content
If you like this content, please consider supporting me. You can share it on social media, buy me a coffee, or become a paid member. Any support helps.
See the contribute page for all (free or paid) ways to say thank you!
Thanks! 🥰